Unlocking the Magic of Homemade Oat Flour
In the realm of modern baking and healthy eating, oat flour has emerged as a true pantry powerhouse. Celebrated for its wholesome goodness and versatility, it's a fantastic alternative for those seeking gluten-free options or simply wanting to add more whole grains to their diet. While readily available in stores, learning how to make oat flour at home is incredibly simple, cost-effective, and ensures you always have the freshest ingredient on hand. Forget buying expensive bags; with just one ingredient and a few minutes, you can transform humble rolled oats into a culinary staple.
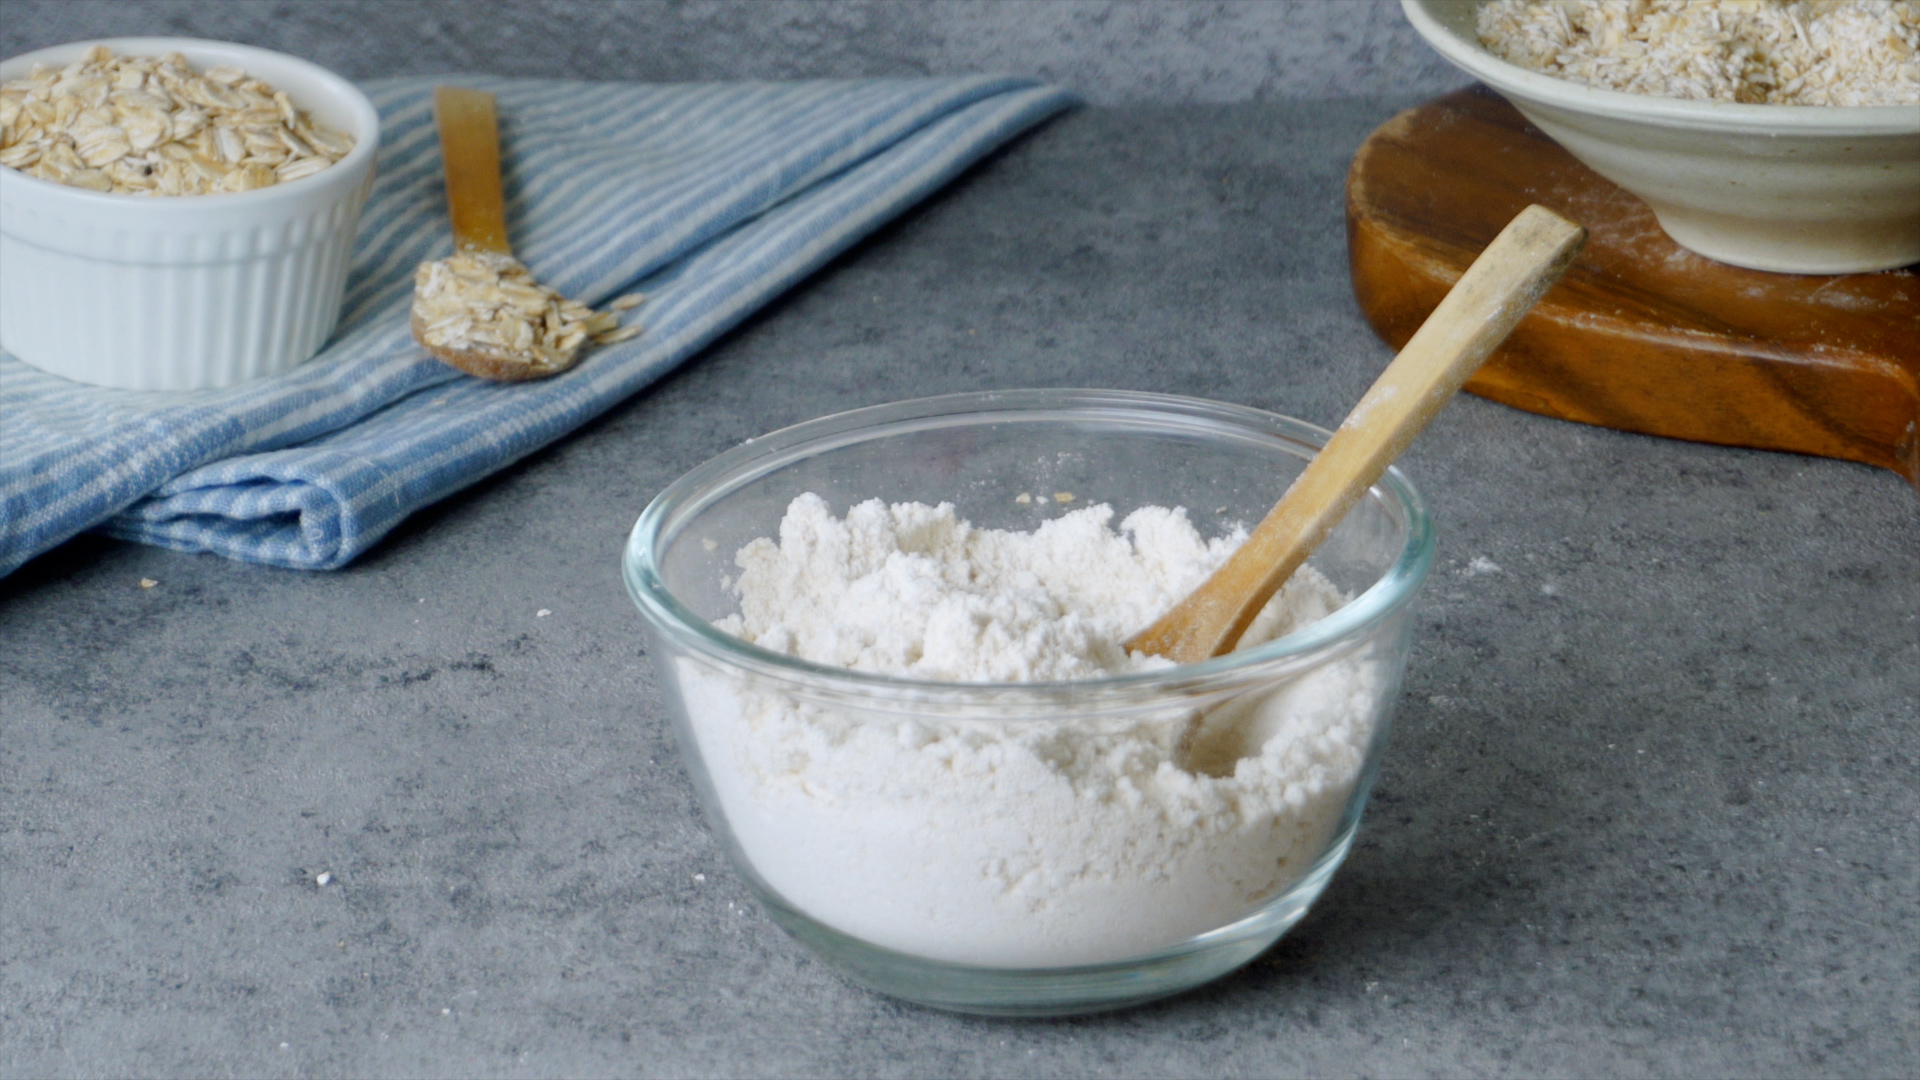
Much like whipping up Homemade Oat Flour: Make Gluten-Free Flour in Minutes or other DIY flours, making oat flour is a straightforward process. This article will guide you through the effortless steps of creating your own, offer practical advice on proper storage, and inspire you with creative ways to incorporate this delightful flour into both sweet and savory dishes. We'll also address common inquiries and frequently asked questions, ensuring you're fully equipped to embrace the benefits of this wonderful ingredient.
What Exactly Is Oat Flour?
At its core, oat flour is precisely what it sounds like: finely ground oats. Unlike some other flours that undergo complex processing, homemade oat flour is simply whole grain oats pulverized into a fine powder. This means that all the nutritional benefits of the oats remain intact, making it a fantastic choice for a healthy diet. When considering its health profile, it's as healthy as the oats you start with. To maximize these benefits, opt for rolled oats (also known as old-fashioned oats). Avoid quick oats, which are often more processed and can result in a different texture.
Oat flour is naturally whole grain and a wonderful source of dietary fiber, including a powerful soluble fiber called Beta-Glucan. This particular fiber is renowned for its ability to promote satiety, help regulate blood sugar, and support heart health. It also delivers essential vitamins, minerals, and antioxidants. While you can technically blend steel-cut oats into flour, they require more blending time and tend to yield a coarser texture. For most baking applications, rolled oats are the superior choice.
Why Make Your Own Oat Flour?
Beyond the sheer simplicity, there are several compelling reasons to embrace homemade oat flour:
- Cost-Effectiveness: A large container of rolled oats is significantly cheaper than a small bag of pre-made oat flour. You'll save money in the long run!
- Freshness: Grinding your own ensures the flour is always fresh, which can impact the taste and texture of your recipes.
- Purity: You control the ingredients. There are no hidden additives, preservatives, or anti-caking agents often found in commercial flours.
- Gluten-Free Assurance: If you or someone you're baking for has a gluten sensitivity or celiac disease, making your own with certified gluten-free oats eliminates any cross-contamination concerns that might arise in multi-product processing facilities. For more on this, check out our guide on Is Oat Flour Healthy? Make Your Own & Key FAQs Answered.
- Convenience: You can make small batches as needed, preventing waste and ensuring your flour is at its peak.
How to Make Oat Flour: A Step-by-Step Guide
Making your own oat flour is an incredibly quick and satisfying process. You'll be amazed at how effortlessly oats transform into a fine, soft flour.
What You'll Need:
- Rolled Oats: Ensure they are certified gluten-free if required for dietary reasons.
- High-Speed Blender, Food Processor, or Spice Grinder: A powerful appliance is key to achieving a fine texture.
- Airtight Container: For storing your freshly ground flour.
- Fine-Mesh Sieve (Optional): For extra-fine flour.
The Process:
- Measure Your Oats: Decide how much flour you need. The conversion is roughly 1:1; one cup of rolled oats yields approximately one cup of oat flour, often just slightly less. For precise measurements in recipes, it's always best to weigh your flour.
- Add Oats to Appliance: Pour the rolled oats into your blender, food processor, or spice grinder. Avoid overfilling, especially with smaller grinders, as this can lead to uneven grinding. If making a larger batch, process in smaller portions.
- Blend Until Fine: Secure the lid and begin blending. Start on a low speed and gradually increase to high. The goal is a uniform, powdery consistency.
- Pulse and Shake: Periodically stop the machine, give the jar or container a gentle shake, or use a spatula to scrape down the sides. This helps redistribute the oats, ensuring everything gets evenly ground. Continue blending until no whole or large oat pieces remain. This usually takes 1-3 minutes depending on your appliance.
- Achieve Desired Fineness (Optional): For an ultra-fine flour, suitable for delicate baked goods, pour the ground oats through a fine-mesh sieve. Any larger pieces that don't pass through can be returned to the blender for a quick re-grind.
- Cool Before Storing: Once ground, the flour might be slightly warm from the friction. Allow it to cool completely on a tray or in a shallow bowl before transferring it to storage. This prevents condensation, which can lead to clumping or spoilage.
- Store Properly: Transfer the cooled oat flour to an airtight glass jar or container.
Storing Your DIY Oat Flour for Optimal Freshness
Proper storage is crucial to maintain the quality and extend the shelf life of your homemade oat flour. Because it contains natural oils (unlike highly refined flours), it can go rancid if not stored correctly.
- Airtight Container: Always store oat flour in a completely airtight container. This protects it from moisture, air, and pantry pests. Glass jars with tight-fitting lids are an excellent choice.
- Cool, Dry, Dark Place: A pantry or cupboard away from direct sunlight and heat sources is ideal. Heat and light can accelerate the degradation of the oats' natural oils.
- Refrigeration/Freezing: For longer-term storage, especially in warmer climates or if you've made a large batch, consider storing oat flour in the refrigerator (up to 6 months) or freezer (up to 1 year). Ensure it's in a well-sealed container to prevent it from absorbing odors.
The shelf life of your homemade oat flour typically ranges from 3-4 months at room temperature, though this can vary based on the freshness of your original oats and the storage conditions. Always check the "best by" date of your whole oats before grinding to get an estimate of your flour's potential shelf life.
Creative Ways to Use Your Homemade Oat Flour
Once you've mastered how to make oat flour, a world of culinary possibilities opens up! Its soft, almost cake-like texture makes it a delightful addition to numerous recipes, imparting a subtle, nutty flavor and a wholesome boost.
Baking with Oat Flour:
Oat flour adds a lovely chewiness and moistness to baked goods. However, it's important to note that it's not a 1:1 substitute for wheat flour in most recipes, especially those relying heavily on gluten structure. It absorbs liquids differently and lacks gluten, so it often needs to be combined with other flours or used in recipes specifically formulated for it. When substituting, start by replacing about 25-30% of wheat flour with oat flour in existing recipes, or look for recipes designed for gluten-free baking.
- Muffins & Quick Breads: Enhances texture and adds nutritional value to blueberry muffins, banana bread, or pumpkin loafs.
- Pancakes & Waffles: Creates incredibly fluffy and tender breakfast treats.
- Cookies & Brownies: Contributes to a delightful chewiness and a rich, wholesome flavor.
- Crumbles & Crisps: Perfect for creating a delicious, wholesome topping for fruit desserts.
- Breads: Can be used in combination with other flours in gluten-free bread recipes, lending a soft crumb.
- Pie Crusts: A wonderful way to make a gluten-free and flavorful pie crust.
Beyond Baking:
Don't limit oat flour to just sweet treats!
- Thickener: Use it as a natural thickener for soups, stews, gravies, or sauces, providing a silky texture.
- Smoothie Booster: A spoonful can add fiber, protein, and a creamy texture to your morning smoothie.
- Meatloaf & Veggie Burgers: Acts as a binder, replacing breadcrumbs for a gluten-free option.
- Breading: Use it as a healthier alternative for breading chicken, fish, or vegetables before frying or baking.
- Homemade Pasta: Experiment with combining it with other gluten-free flours for unique pasta creations.
Common Questions About Oat Flour (FAQs)
Q: What is the oat to oat flour conversion?
A: Generally, it's a very close 1:1 conversion. One cup of whole rolled oats will yield approximately one cup of oat flour, often just slightly less due to the compaction. For precise baking, especially in gluten-free recipes, it's always best to measure your ingredients by weight rather than volume.
Q: Is oat flour gluten-free?
A: Yes, oats are naturally gluten-free. However, they are often processed in facilities that also handle wheat, barley, and rye, leading to cross-contamination. If you require a strictly gluten-free diet, it's essential to use oats that are specifically certified gluten-free to ensure purity.
Q: What kind of oats are best for making oat flour?
A: Rolled oats (also known as old-fashioned oats) are the best choice. They create a fine, consistent flour that works well in most recipes. While steel-cut oats can be ground, they are harder to process and often result in a coarser flour. Quick oats are typically more processed and may not offer the same nutritional benefits or texture.
Q: How long does homemade oat flour last?
A: Stored in an airtight container in a cool, dry, dark place, homemade oat flour can last for 3-4 months. For extended freshness, store it in the refrigerator for up to 6 months or in the freezer for up to 1 year. Always check the "best by" date on your original bag of oats for guidance.
Q: Can I use a coffee grinder to make oat flour?
A: Yes, a clean coffee grinder can work, especially for smaller batches. Treat it like a spice grinder – add a small amount of oats and grind until fine, stopping to shake it periodically. Just be sure it's thoroughly cleaned if it's been used for coffee beans to avoid flavor transfer!
Conclusion
Learning how to make oat flour at home is a simple skill that unlocks a world of culinary possibilities, empowering you to create healthier, more delicious meals and baked goods. With just a few minutes and a common kitchen appliance, you can produce a fresh, wholesome, and versatile flour that will become a true staple in your pantry. From fluffy pancakes to hearty muffins, or even as a clever thickener, homemade oat flour offers a fantastic blend of nutrition, flavor, and texture. So, grab your oats, fire up your blender, and start experimenting – your taste buds (and your wallet!) will thank you.
