Homemade Oat Flour: Your Go-To Guide for Gluten-Free Goodness
In a world increasingly seeking healthier, more natural alternatives for everyday staples, homemade oat flour stands out as a true culinary gem. Imagine transforming simple, wholesome rolled oats into a versatile, gluten-free flour in mere minutes, right in your own kitchen. This isn't just a dream; it's an incredibly achievable reality that promises to revolutionize your baking and cooking. Forget expensive store-bought versions; making your own oat flour is a simple, cost-effective, and deeply satisfying process that puts you in control of what goes into your food.
If you're already a fan of homemade almond flour or DIY chickpea flour, get ready to add another pantry staple to your repertoire. All you need are oats and a high-speed blender or food processor, and you'll unlock a world of delicious, wholesome possibilities. This comprehensive guide will walk you through everything you need to know about how to make oat flour, from the initial grind to storage tips and frequently asked questions, ensuring you’re equipped to create amazing gluten-free dishes with confidence.
What is Oat Flour and Why Embrace the Homemade Approach?
At its core, oat flour is simply finely ground whole oats. Unlike some other DIY flours that involve more complex processes, oat flour truly is as straightforward as it sounds. You're taking a whole grain and transforming its texture into a powdery consistency perfect for baking and cooking. The beauty of this simplicity extends to its nutritional profile: oat flour is as healthy as the oats you start with, making the choice of oats crucial. Opt for rolled oats (often labeled "old-fashioned") over instant or quick oats, as these are less processed and retain more of their natural goodness.
Choosing to make your oat flour at home offers a multitude of benefits:
- Gluten-Free Assurance: While oats are naturally gluten-free, they are often processed in facilities that also handle gluten-containing grains, leading to cross-contamination. By using certified gluten-free oats, you guarantee your homemade flour is safe for those with celiac disease or gluten sensitivities.
- Superior Nutrition: Oats are a powerhouse of essential nutrients. They are a whole grain, rich in dietary fiber (especially beta-glucan, a soluble fiber known for its heart-healthy benefits and ability to promote satiety), vitamins (B vitamins), minerals (manganese, phosphorus, magnesium, iron, zinc), and antioxidants. Beta-glucan, in particular, helps regulate blood sugar levels and cholesterol.
- Cost-Effectiveness: Store-bought oat flour can be surprisingly expensive, especially for certified gluten-free varieties. Buying whole rolled oats in bulk and grinding them yourself can lead to significant savings over time.
- Freshness and Flavor: Freshly ground flour simply tastes better. You'll notice a subtle difference in the aroma and flavor of your baked goods, thanks to the inherent freshness of oats ground just before use.
- Texture Control: You have complete control over the fineness of your flour. Want a slightly coarser flour for a rustic texture? Or an ultra-fine powder for delicate pastries? Your blender makes it possible.
While steel-cut oats can also be ground into flour, they require more blending time due to their denser structure. Interestingly, they offer a higher yield, with one cup of steel-cut oats producing roughly two cups of flour, compared to the 1:1 ratio of rolled oats. However, for everyday use and ease of grinding, rolled oats remain the preferred choice.
The Simple Steps: How to Make Oat Flour in Minutes
Making your own oat flour is incredibly simple and requires minimal equipment. This process will yield a fine, soft flour perfect for a wide range of recipes.
What You'll Need:
- Rolled Oats: Approximately 1 cup of rolled oats will yield just under 1 cup of oat flour. Adjust quantities based on your needs. Remember to use certified gluten-free oats if necessary.
- High-Speed Blender, Food Processor, or Spice/Coffee Grinder: A powerful appliance is key to achieving a fine consistency.
Step-by-Step Instructions:
- Measure Your Oats: Pour the desired amount of rolled oats into your chosen appliance. For best results, avoid overfilling your blender or food processor, as this can lead to uneven grinding and place strain on the motor. If making a large batch, work in smaller portions.
- Blend Until Fine: Secure the lid and begin blending. Start with a low speed and gradually increase to high.
- For Blenders/Food Processors: Blend continuously, stopping occasionally to shake the jar or scrape down the sides with a spatula. This ensures all the oats are incorporated and ground evenly.
- For Spice/Coffee Grinders: These are ideal for smaller batches. Pulse the oats, checking frequently, until they reach a powdery consistency.
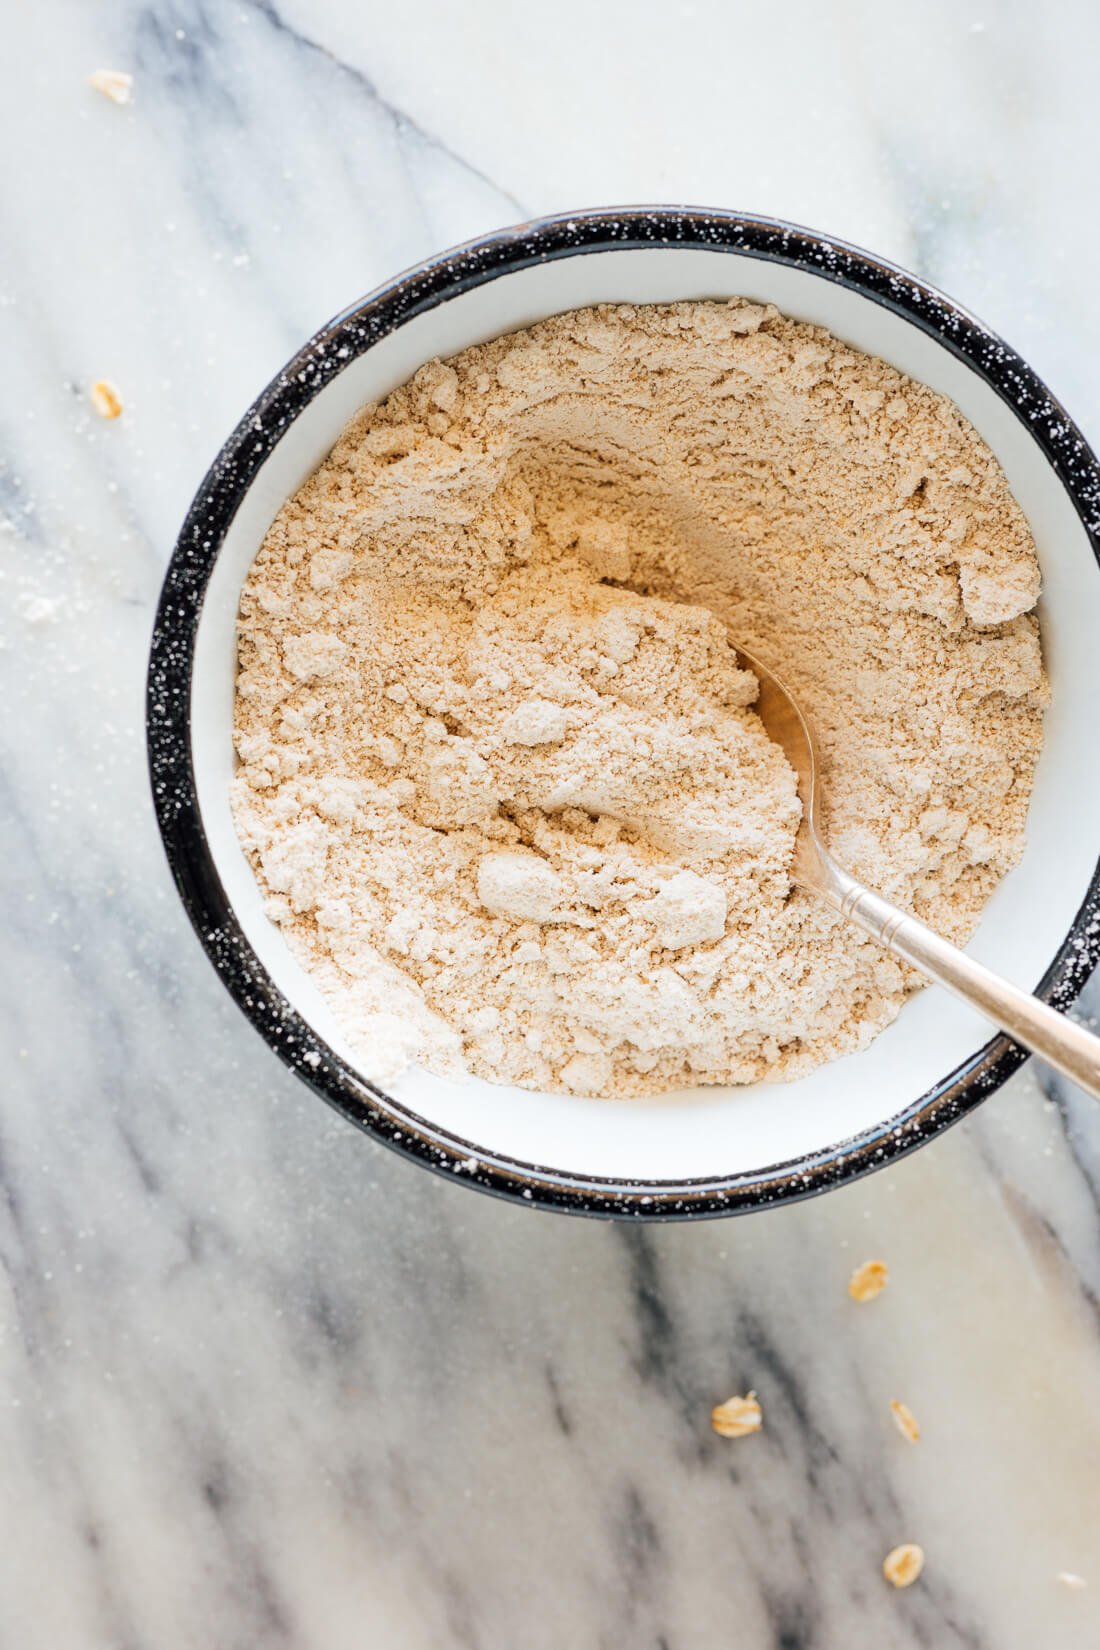
- Check for Consistency: Continue blending until the oats transform into a fine, powdery flour. There should be no visible whole oat pieces remaining. The flour should feel soft and uniform, similar to wheat flour.
- Optional Sifting for Extra Fineness: If you desire an exceptionally fine flour, pass the ground oats through a fine-mesh sieve. Any larger, unground bits can be returned to the blender for another quick blitz, ensuring maximum yield and uniform texture.
- Ready to Use or Store: Your homemade oat flour is now ready! Use it immediately in your favorite recipes or prepare it for storage.
Pro Tips for Perfect Oat Flour:
- Don't Overheat: Blending for too long without stopping can generate heat, which might slightly alter the oats' natural oils. Pulse and rest the machine to keep the flour cool.
- Start Dry: Ensure your oats and equipment are completely dry to prevent clumping and ensure a fine grind.
- Listen to Your Machine: If your blender or food processor sounds strained, reduce the quantity of oats or stop to let the motor cool.
Using Your Homemade Oat Flour: Culinary Versatility Unleashed
Once you've mastered how to make oat flour, a world of culinary possibilities opens up. Oat flour has a wonderfully soft, almost cake-like texture, imparting a wholesome, slightly nutty flavor to your creations. It's an excellent ingredient for adding dietary fiber and a nutritious boost to many dishes.
Key Considerations for Baking with Oat Flour:
It's important to understand that oat flour is not a direct 1:1 substitute for wheat flour in all recipes. Due to its lack of gluten (the protein structure that gives elasticity to wheat-based baked goods) and its unique absorption properties, recipes often need adjustments. Oat flour tends to absorb more liquid than wheat flour and can sometimes lead to denser results if not properly accounted for. For best results, especially when starting out, look for recipes specifically developed for oat flour or begin by substituting a portion of the wheat flour (e.g., 25-50%) with oat flour to achieve a balance.
Delicious Ways to Use Your Homemade Oat Flour:
- Baked Goods: This is where oat flour truly shines. Incorporate it into gluten-free pancakes, waffles, muffins, cookies, quick breads (like banana bread or zucchini bread), and even some cakes. Its soft texture is fantastic for creating tender crumbs.
- Smoothies: Add a tablespoon or two to your morning smoothie for an extra boost of fiber and sustained energy. It blends in seamlessly and thickens the smoothie slightly.
- Thickening Agent: Use it to thicken soups, stews, gravies, or sauces as a gluten-free alternative to wheat flour or cornstarch.
- Breading: Mix with herbs and spices to create a crispy, gluten-free coating for chicken, fish, or vegetables.
- Homemade Pasta: Experiment with making gluten-free pasta or gnocchi using oat flour.
FAQs About Homemade Oat Flour
Here are some of the most common questions people have when learning how to make oat flour and faqs.
What kind of oats should I use for oat flour?
For the best results, use rolled oats (also known as old-fashioned oats). These are whole grain oats that have been steamed and flattened. They grind into a fine, consistent flour. While you *can* use steel-cut oats, they are denser and will take significantly longer to blend. Avoid quick-cooking or instant oats, as they are often more processed and can result in a less desirable texture and potentially fewer nutrients in your flour.
Is homemade oat flour gluten-free?
Oats are naturally gluten-free. However, due to farming and processing methods, oats can often be cross-contaminated with gluten-containing grains like wheat, barley, or rye. To ensure your homemade oat flour is truly gluten-free, always purchase and use certified gluten-free rolled oats. These oats are grown and processed in dedicated facilities to prevent cross-contamination, making them safe for individuals with celiac disease or gluten sensitivity. For more insights into the health aspects, check out our article Is Oat Flour Healthy? Make Your Own & Key FAQs Answered.
What is the oat to oat flour conversion?
A good rule of thumb is that 1 cup of rolled oats yields approximately 1 cup of oat flour. It might be just slightly less, but for most recipes, it’s close enough to be considered a 1:1 conversion. For precise baking, it’s always best to measure your flour after grinding rather than relying solely on the pre-ground oat volume.
How do I store homemade oat flour?
Proper storage is crucial for maintaining the freshness and extending the shelf life of your homemade oat flour. Transfer the flour to a clean, airtight glass jar or container. Store it in a cool, dry place, such as your pantry or a kitchen cabinet away from direct sunlight and heat. Stored this way, homemade oat flour typically lasts for 3-4 months. You can extend its shelf life even further by storing it in the refrigerator (up to 6 months) or freezer (up to a year), especially if you live in a warm or humid climate. Always check the best-by date of your original oats, as this will influence the flour's overall shelf life. For more detailed tips on storage, refer to DIY Oat Flour: Making, Storing, & Using This Pantry Staple.
Can I substitute oat flour for wheat flour 1:1 in recipes?
Generally, no, not directly 1:1. Oat flour behaves differently from wheat flour because it lacks gluten, which provides structure and elasticity to baked goods. It also absorbs liquids differently. If you substitute oat flour 1:1 for wheat flour in a recipe not specifically designed for it, your baked goods might turn out denser, drier, or crumble more easily. It's often best to use recipes specifically developed for oat flour. If adapting a recipe, start by replacing only a portion of the wheat flour (e.g., 25-50%) with oat flour and be prepared to adjust liquid content or add binders like eggs or flax eggs.
Can I use a coffee grinder to make oat flour?
Yes, you can! A clean coffee grinder or spice grinder works very well for making smaller batches of oat flour. Its powerful blades are efficient at pulverizing oats into a fine powder. Just be sure the grinder is completely free of coffee or spice residue unless you want those flavors mingling with your oat flour.
Conclusion
Making homemade oat flour is one of the simplest and most rewarding kitchen DIYs you can undertake. With just one ingredient and a few minutes of your time, you unlock a versatile, nutritious, and gluten-free flour that can elevate countless recipes. From fluffy pancakes to wholesome muffins, the possibilities are endless. By understanding how to make oat flour and faqs, you gain control over the quality, freshness, and cost of your ingredients, making healthy eating more accessible and enjoyable. So, grab your oats, fire up your blender, and start experimenting with this incredible homemade pantry staple!
